Plumbing Services in Portland

Plumbers in Portland
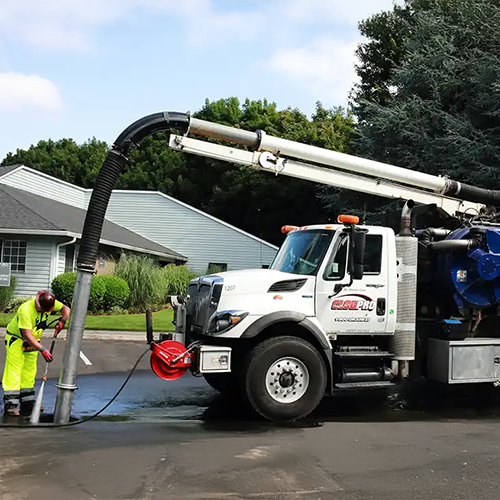
Portland is a vibrant city known for its eclectic culture, stunning parks, and the iconic Portlandia statue. The city’s rich arts scene and farm-to-table dining attract residents and visitors alike. However, many older homes face plumbing issues like outdated systems and low water pressure, largely due to the age of the infrastructure and frequent rainfall that can strain drainage systems. Since 1993, the Clog Pro team has served home and business owners in the Portland area with excellent Plumbing Services. The Clog Pro team takes pride in being a family-owned business with a strong dedication to customer experience. Whether you have a clogged drain or a burst pipe, our Plumbing Services are unmatched; our team of Plumbers is ready to help. Our team brings our best to every job, guaranteeing your satisfaction.

-
Expert Plumbing Services
- Clog Pro
-
833 Southeast Main Street #Mailbox 210 Portland, OR, 97214
- 503-386-1534
-
See What Satisfied Customers Have To Say About Clog Pro Plumbing!
I recently used Clog Pro, and they deserve five stars! They quickly came out to my job in Ridgefield, Washington, matched the price from a previous job, and being a local company, we were happy to support them. Highly recommend!
Amy

Swift and Reliable Sewer Line Repair to Protect Your Home
A compromised sewer line can wreak havoc on your home’s plumbing system, leading to costly repairs if not addressed promptly. At Clog Pro, we specialize in swift sewer line repair services that minimize damage and restore your plumbing to optimal function. Our expert Plumbers in Vancouver, WA, and Portland, OR, are trained to quickly diagnose issues, ensuring that even the most complex problems are resolved efficiently. Don’t wait for a small issue to turn into a major disaster—contact us today to safeguard your home from sewer line woes
Swift and Reliable Water Leak Repair for Your Home
When a plumbing leak strikes, swift action is crucial to prevent further damage to your property. At Clog Pro, we specialize in prompt plumbing repair, ensuring that any leaks from faucets, water heaters, or sinks are handled with precision. Our qualified Plumbers will conduct a thorough inspection and provide a free, no-obligation quote to get your plumbing back on track. Don’t let a small leak turn into a costly disaster—contact us today and experience peace of mind with our reliable repair solutions.